A Smart, Stress-Reducing Renovation Plan That Saves Money
Renovating a house can feel like standing in the middle of a tornado of decisions. Kitchens, bathrooms, flooring, paint, lighting — everything feels urgent, and everyone has an opinion. But here’s the truth most homeowners learn the hard way:
It’s not what you renovate that causes problems — it’s the order you do it in.
Renovating out of sequence leads to:
- Redone work
- Blown budgets
- Delays
- Frustration with contractors
- Finished spaces getting damaged by later work
If you want a renovation that feels controlled instead of chaotic, the order matters more than the finishes.

Step 1: Address Structural, Safety & Water Issues First
This is the unglamorous phase — and the most important.
Before a single design decision is made, your home needs to be structurally sound and dry. That means addressing:
- Roof leaks
- Foundation or settlement issues
- Drainage problems
- Sewer line concerns
- Moisture intrusion
- Mold risks
If water is getting in where it shouldn’t, everything else is temporary.
Griff’s rule: Never renovate on top of a problem you haven’t fixed.
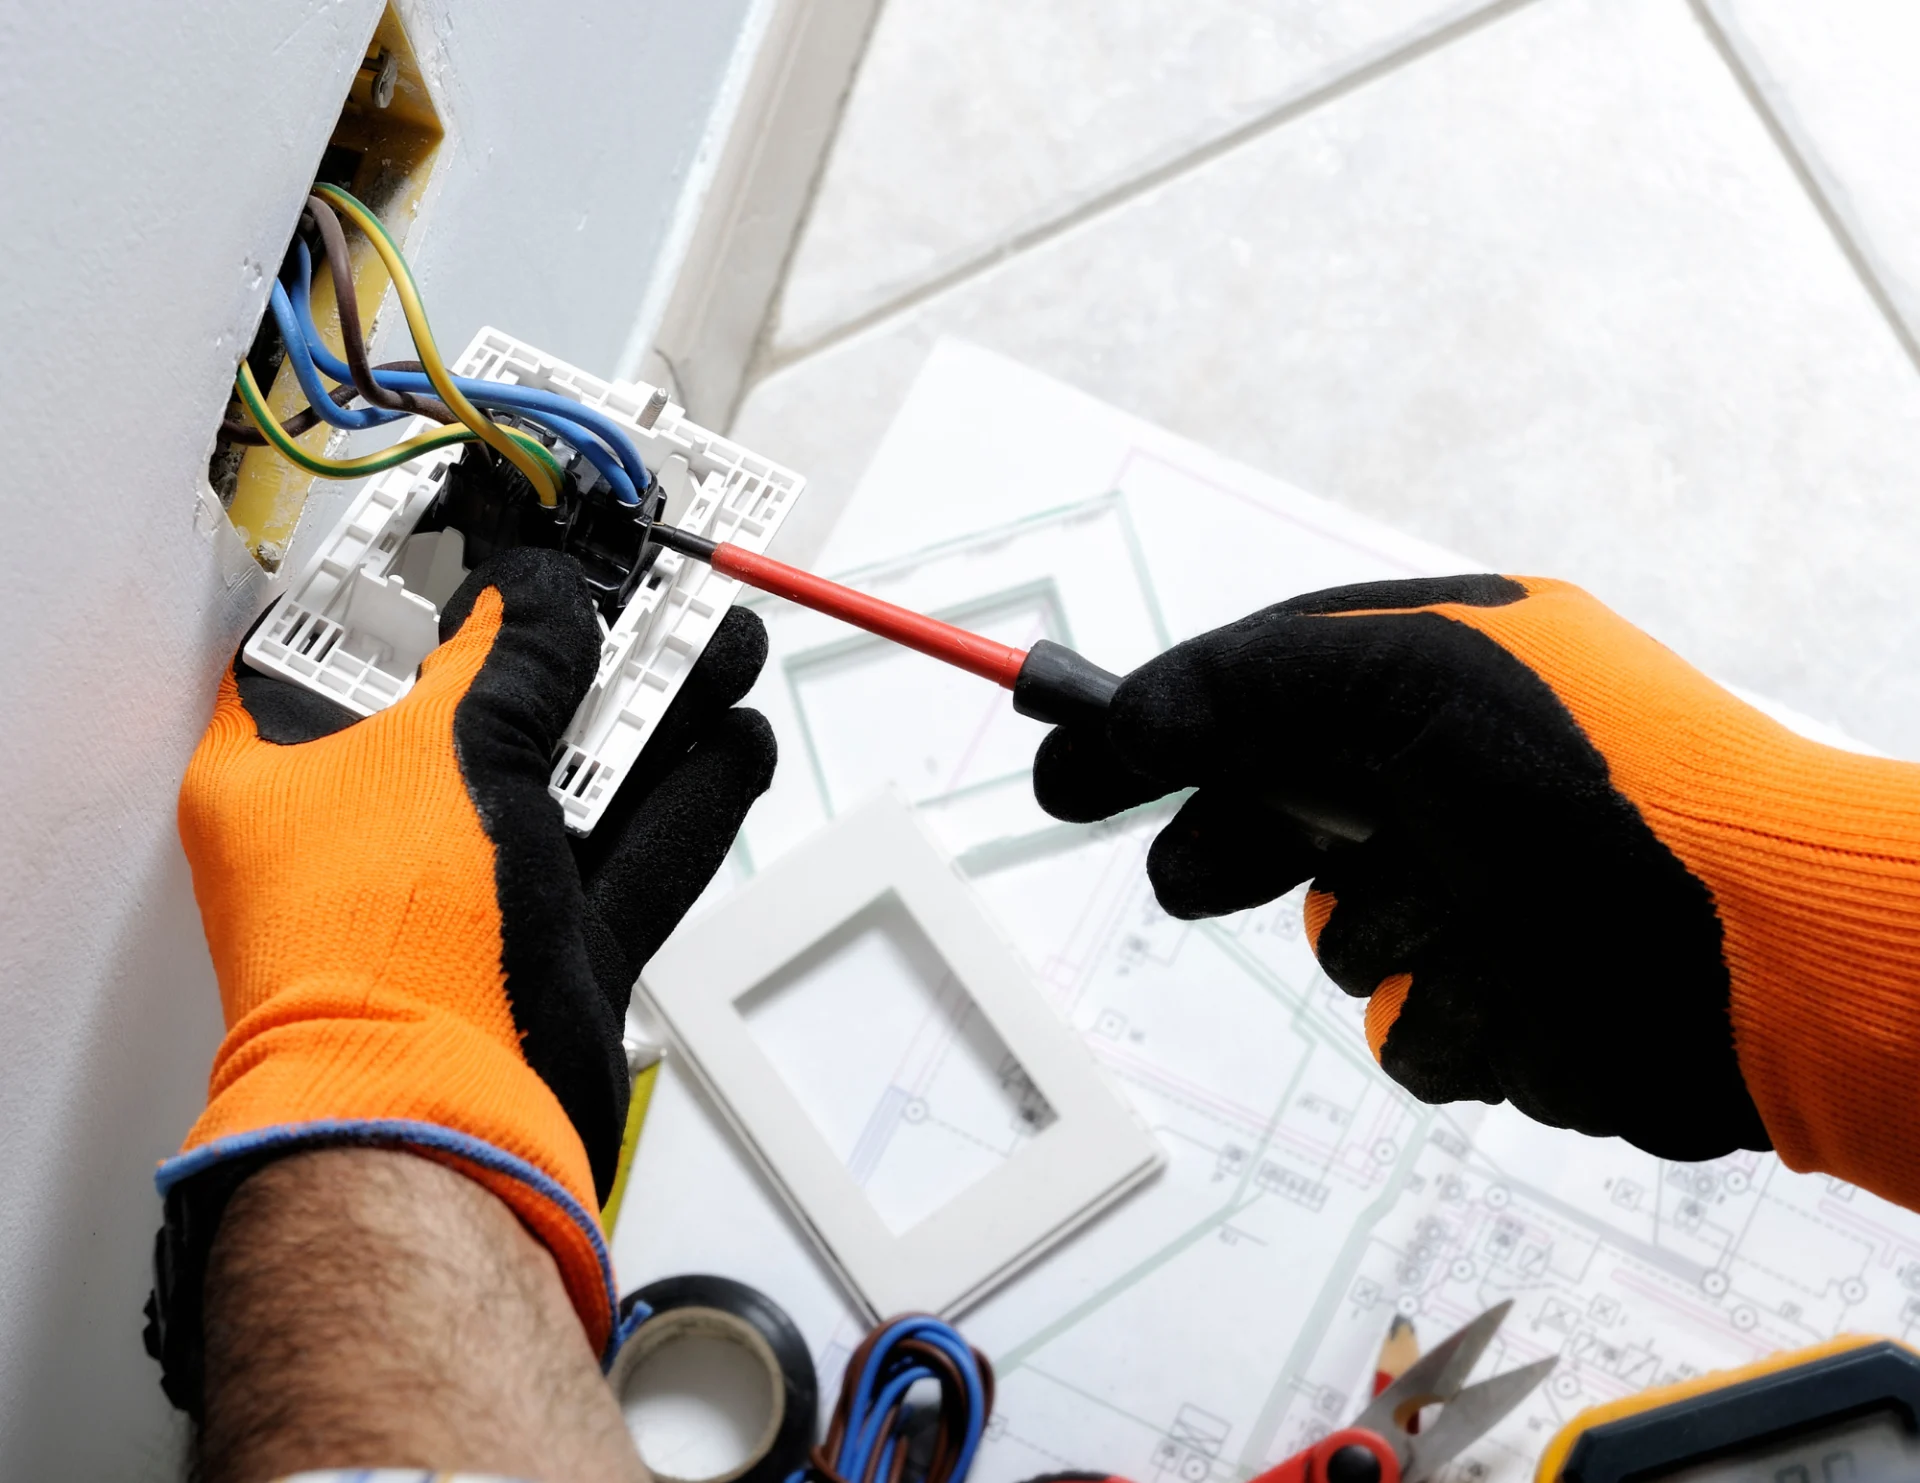
Step 2: Upgrade Major Systems (Electrical, Plumbing, HVAC)
This is where many remodels go wrong.
Electrical, plumbing, and HVAC systems live inside walls, floors, and ceilings — which means they should be handled before anything gets finished.
This phase often includes:
- Electrical panel upgrades
- Rewiring old or unsafe circuits
- Adding outlets or dedicated circuits
- Plumbing replacements or rerouting
- Furnace, boiler, or AC upgrades
- Venting improvements
Yes, it’s expensive.
Yes, it’s invisible once finished.
And yes, it’s far cheaper than tearing open new drywall later.
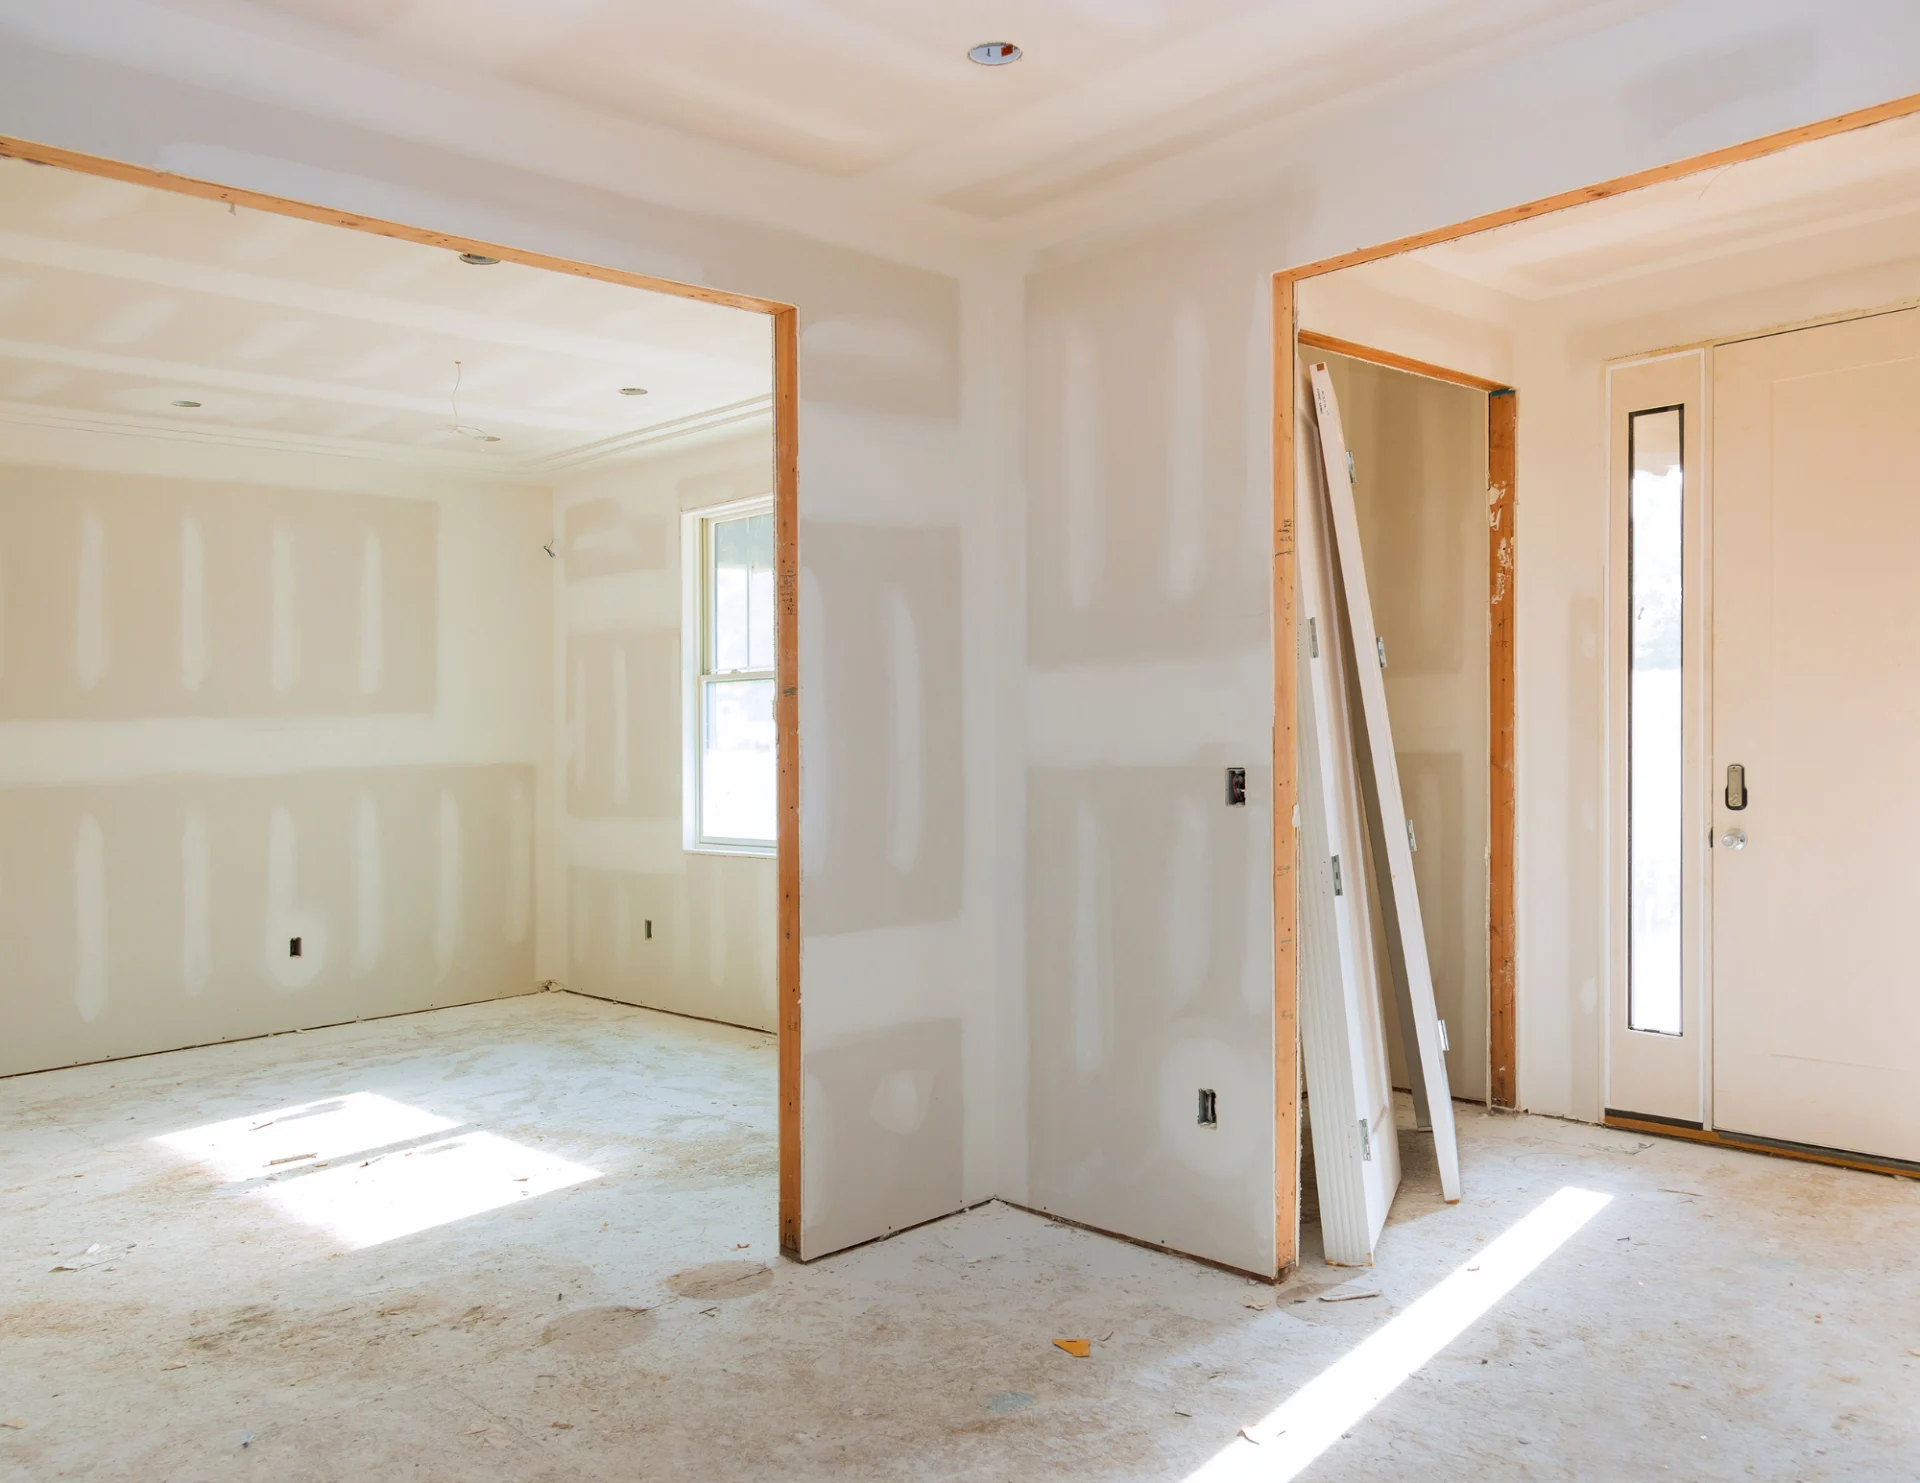
Step 3: Layout Changes & Framing
If walls are moving, now is the time.
This includes:
- Opening up kitchens
- Expanding bathrooms
- Creating walk-in showers
- Adding closets
- Reworking traffic flow
Once framing is done, everything else locks into place. This is also when inspections typically happen, so mistakes caught here save major headaches later.
Step 4: Windows, Doors & Exterior Openings
If you’re replacing windows or exterior doors, do it before interior finishes.
Why?
- Dust
- Vibration
- Potential framing changes
- Exterior sealing
A tight, energy-efficient envelope makes everything inside perform better.
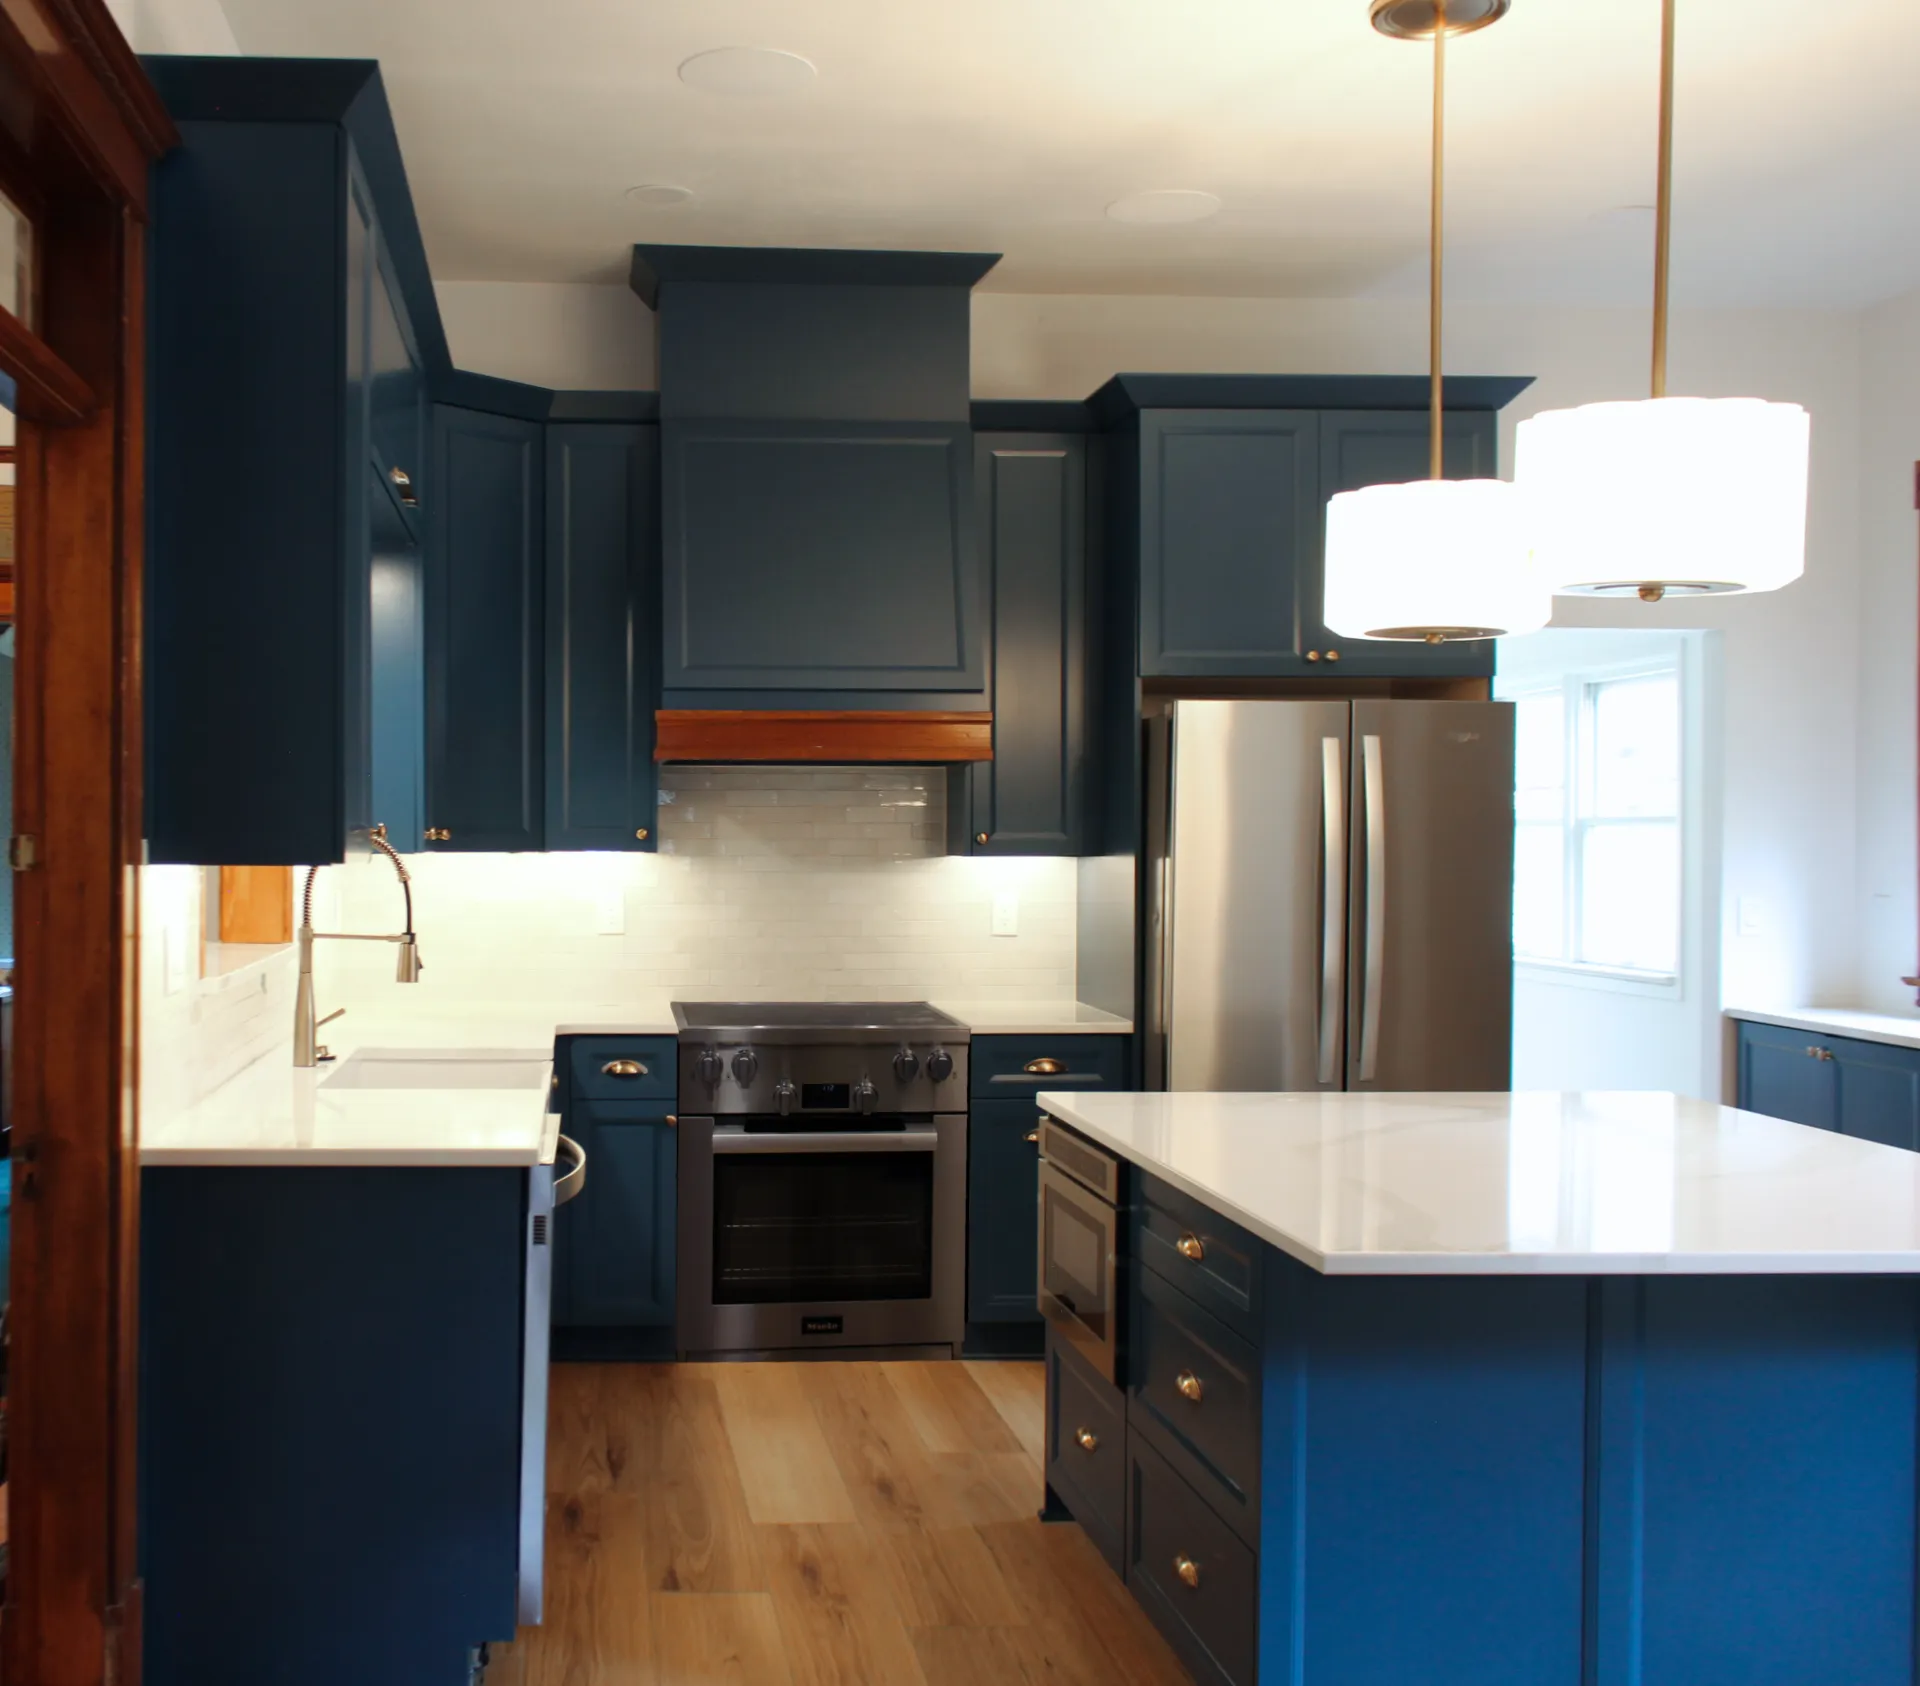
Step 5: Kitchens & Bathrooms
These come next because they involve the most coordination.
A kitchen or bathroom remodel can involve:
- Plumbing
- Electrical
- Cabinets
- Countertops
- Tile
- Ventilation
- Appliances
Doing these rooms after systems and layout work ensures you’re not compromising design due to infrastructure limitations.

Step 6: Flooring
Flooring should come after heavy work but before final trim.
This avoids:
- Scratches
- Dents
- Staining
- Uneven transitions
Step 7: Paint, Trim & Finish Work
This is the final polish:
- Paint
- Baseboards
- Doors
- Hardware
- Light fixtures
At this stage, the house should finally feel like a home again.
Final Takeaway
The right renovation order isn’t about speed — it’s about efficiency. A well-planned remodel minimizes surprises, protects your investment, and delivers a better end result.